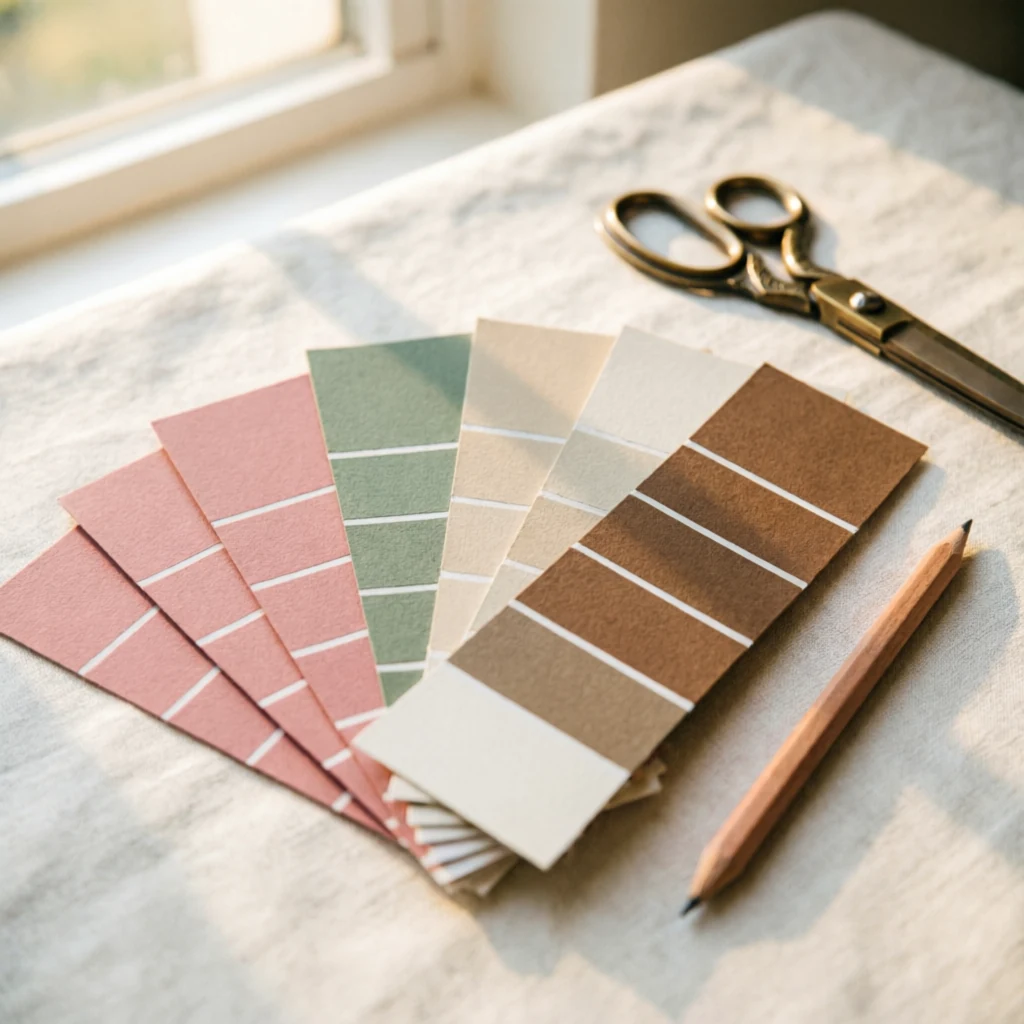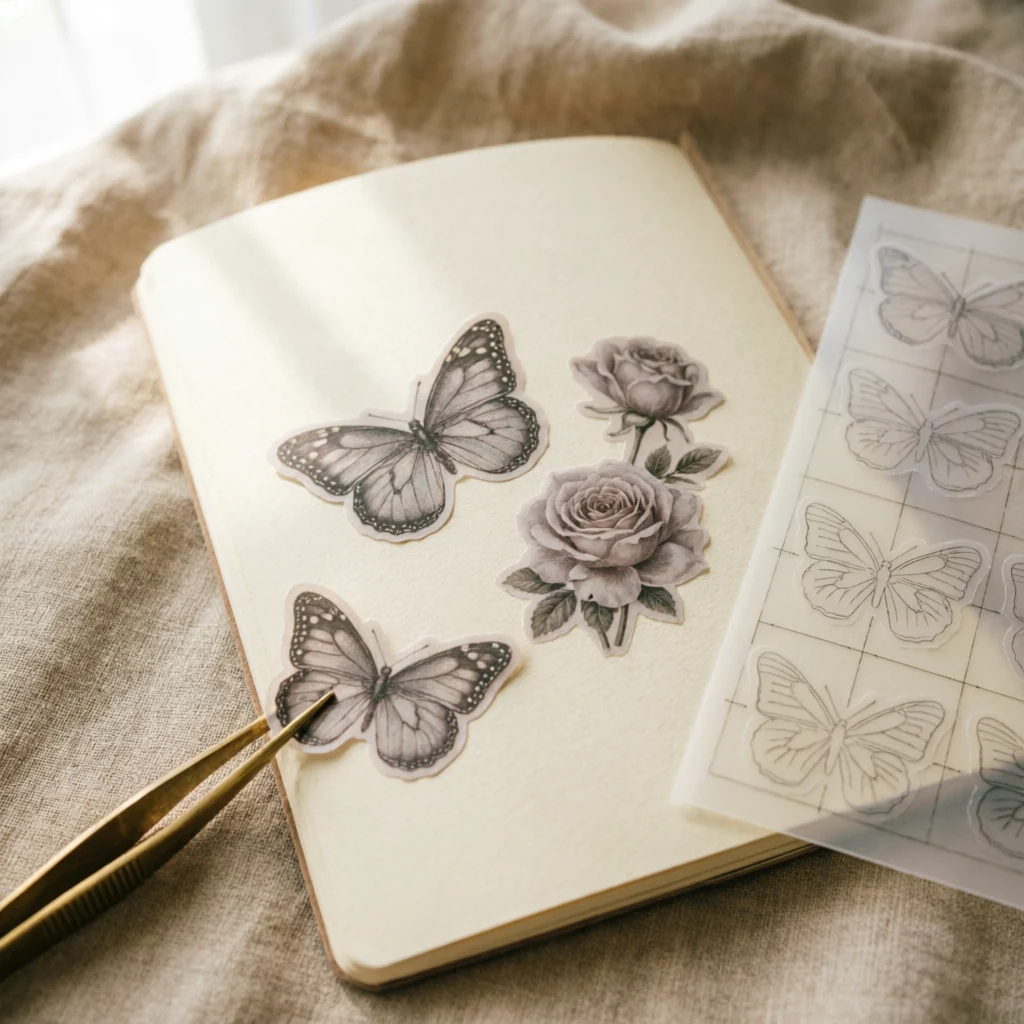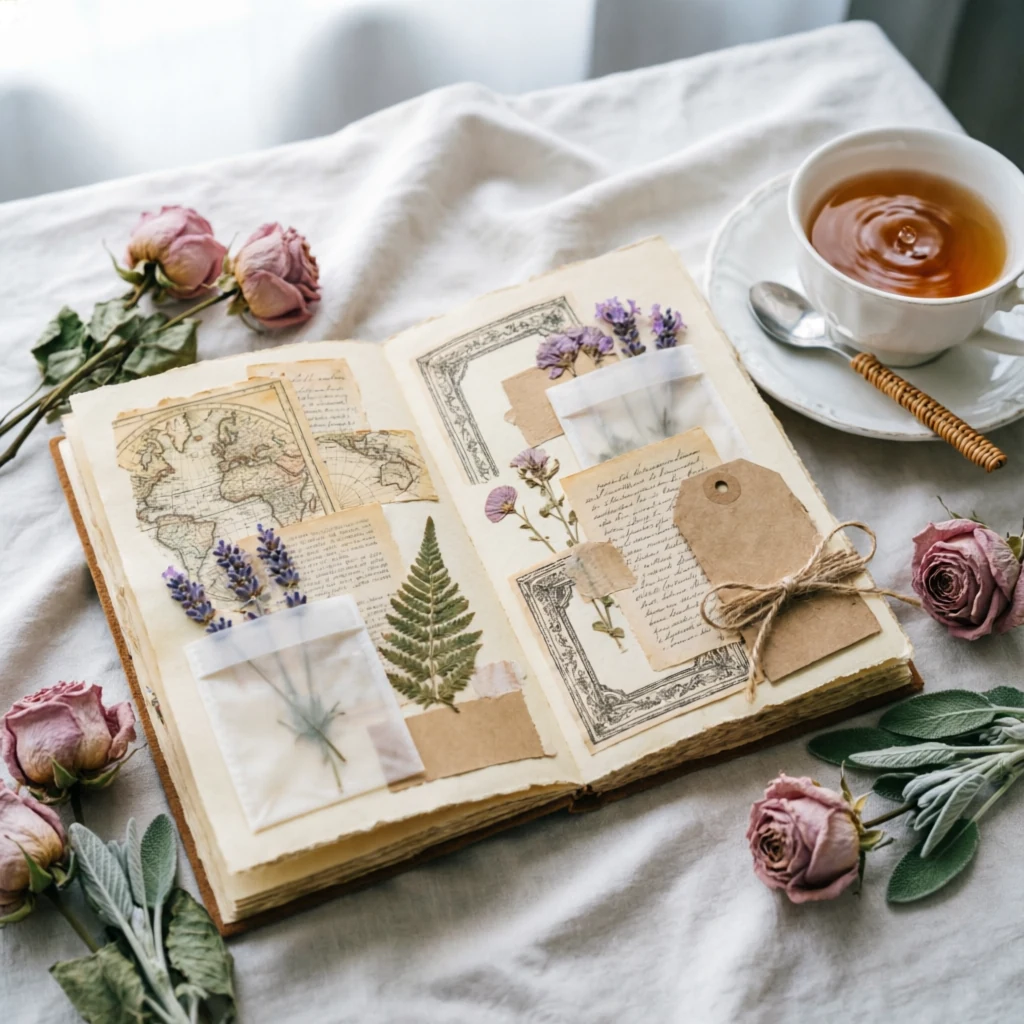
A few well-chosen printables can tie together a journal made from very different scraps. Start with one colour family and a single large image, then add smaller pieces around it. These ten styles are useful starting points for building a page with room for your own story.
1. Botanical plates
Use a plant illustration as the main piece on a spread. Leave some of its border showing and repeat one leaf colour elsewhere with a small tag. A detailed plate usually needs little extra decoration.
2. French ledger paper
Faded columns and handwritten figures make a quiet background. Tear a narrow strip for the edge of a page, or fold a sheet into a pocket. Keep a plain patch nearby if you want to add handwriting.
3. Postcard designs
A postcard can become a tuck-in note or a journaling card. Try attaching only one edge with paper tape so you can lift the card and write underneath. Decorative addresses are part of the design; add your own note on the reverse.
4. Decorative postage stamps
Cluster two or three small stamp designs beside a photograph or date. Leave a little space between them so the shapes remain distinct. Printed craft stamps are decorations and cannot be used as postage.
5. Apothecary labels
Frame a short title with an old-fashioned label. Choose one large enough for the words you want to write, then test it at actual size before printing a full sticker sheet.
6. Music-paper textures
Use a small strip as a connecting layer between a picture and a plain background. Dense notation works best in small areas, especially when your main image already has plenty of detail.
7. Maps and travel scraps
Place a map-style piece behind a ticket, photograph or handwritten memory. If you want a real place to be recognisable, check the map itself rather than relying on a decorative map-like pattern.
8. Tickets and numbered tabs
These small shapes add a useful rhythm down the edge of a spread. Turn a ticket into a page tab by folding it around the edge and gluing both sides. Keep thick layers away from the spine.
9. Floral borders
A border leaves a generous centre for writing. Repeat a flower from the border on a tag, or cut out a small motif and place it on the opposite page to connect the spread.
10. Envelopes and pockets
Use these for notes you want to keep tucked away. Test the template on plain paper first. Score the folds, check that a card fits inside, then print the finished version on a paper your printer supports.
Before printing
- Check the file dimensions and print one sample at the intended size.
- Use the paper and printer settings recommended by your printer manufacturer.
- Check each kit’s licence before using designs in products you plan to sell.
For a closer look at colour, scale and print settings, read how to choose digital paper for scrapbooking.